← Go Back
Supercharge your Productivity with VSCode Snippets
Hi there! Have you tried utilizing Visual Studio Code (VSCode) snippets? If not, aren't you tired of rewriting the common code structures or patterns, such as loops, conditionals, function declarations, and any boilerplate for your code? As developers, we often find ourselves do this, right? Isn't it time consuming and error prone? If yes then let me guide you on how you can use Visual Studio Code (VSCode) snippets.
Before we begin let me just tell you that there are lots of extensions from the VSCode Marketplace which includes snippets. However you can easily define your own snippets without any extensions by following the guide below.
VSCode Snippet Usage
To create your own snippets you can press Ctrl + P and then type and select >Snippets: Configure User Snippets

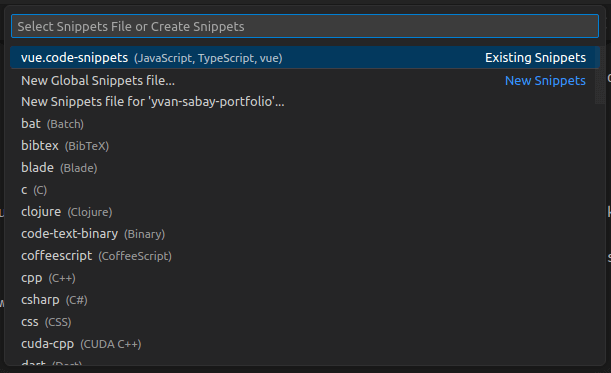
Then it will prompt you to either select a snippet file or create a new one. You can create different snippet file for your different uses (e.g., javascript, php, ruby, c, c++, vue, react, etc.,).

To create a new snippet select the New Global Snippet File and type in a name for your snippet. For this demo I will be naming it as demo-snippet. You will see a similar content for the created file. We can clean up and comment out the example from the generated file to test on how snippets work. See the Generated File and After Changes screenshot from below.
Generated File
{
    // Place your global snippets here. Each snippet is defined under a snippet name and has a scope, prefix, body and
    // description. Add comma separated ids of the languages where the snippet is applicable in the scope field. If scope
    // is left empty or omitted, the snippet gets applied to all languages. The prefix is what is
    // used to trigger the snippet and the body will be expanded and inserted. Possible variables are:
    // $1, $2 for tab stops, $0 for the final cursor position, and ${1:label}, ${2:another} for placeholders.
    // Placeholders with the same ids are connected.
    // Example:
    // "Print to console": {
    //  "scope": "javascript,typescript",
    //  "prefix": "log",
    //  "body": [
    //      "console.log('$1');",
    //      "$2"
    //  ],
    //  "description": "Log output to console"
    // }
}
After Changes
{
    "Print to console": {
        "scope": "javascript,typescript",
        "prefix": "log",
        "body": [
            "console.log('$1');",
            "$2"
        ],
        "description": "Log output to console"
    }
}
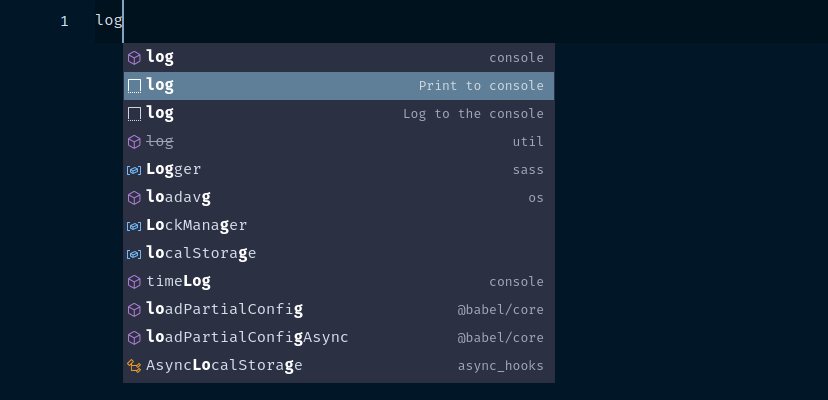
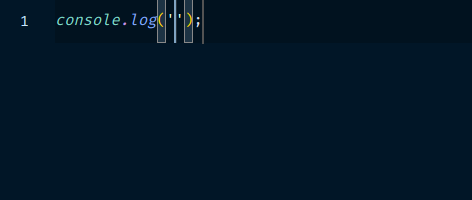
After saving the file, open any javascript or typescript file based on the scope of the snippet that we created previously. You may type in the prefix on the opened file and select from the snippets or suggestions that will appear by pressing Enter or Tab. If there are no snippets or suggestions shown you may hit the ctrl + spacebar on your keyboard to show the suggestions.
Snippet Suggestions
Snippet Selected
Now that you've learned how VSCode Snippets work, you can create your own snippets for whatever use case you can think of just like for any specific framework (e.g., react, vue, svelete, astro, etc.,). You can read more about VSCode Snippet from there official site or you can click here.